How to clean tarnish off your sterling silver jewelry? Actually, cleaning sterling silver won’t be so complicated process as you originally expected. Using natural baking soda can easily resume your tarnished sterling silver jewelry to its sparklingness in a few steps.
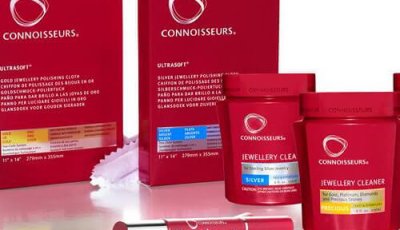
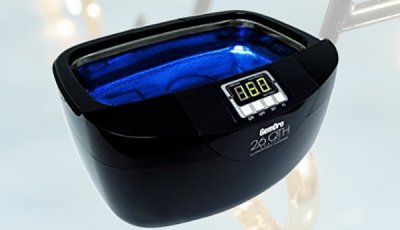
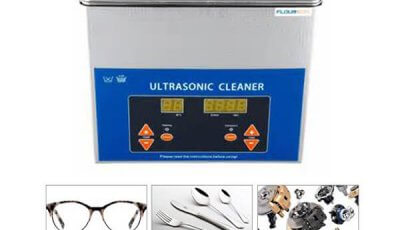
Before we jump in there, I would love to mention a few different methods that you can use for your jewelry cleaning. I’m sure that you’ve probably seen a lot of these. We have an ultrasonic jewelry cleaner to save your cleaning time and effort. There are also jewelry steam cleaner and polishing machine to help clean. Actually, these cleaning methods really work well. However, what methods to use largely depends on the types of jewelry pieces to be cleaned and just how tarnished they are. For things like sterling silver chains or even your old chains things that don’t have natural gemstones in them and are primarily metal. Those items are quite suitable to clean with baking soda. Baking soda cleaning is very quick, easy and all natural process. That’s what I’m going to show you today, how to clean tarnished jewelry using baking soda.
How to Clean Jewelry with Baking Soda and Foil
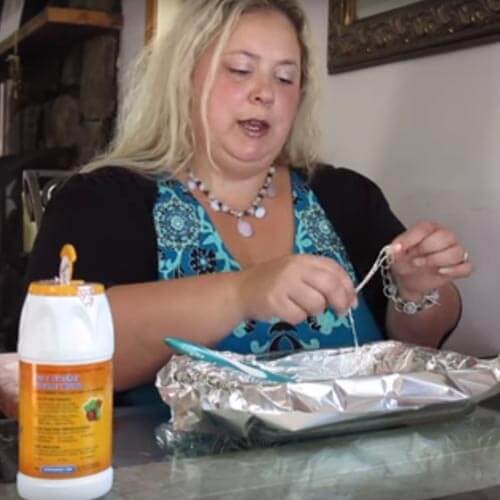
At first, we have to collect a few regular things that you should have in your kitchen. The first one should be baking soda. The second thing that you’re going to need is boiling water. You also need aluminum foil. The aluminum foil combined with the baking soda can actually cause the chemical reaction. It will be the effective process to clean your jewelry. Therefore, get yourself the next piece of aluminum foil in some sort of dish that you can lay your jewelry out in. I would love to take use of the Pyre baking dishes because they’re glass and they can deal with the heat of the boiling water. The final two things that you’re going to need is your jewelry itself. It’s tarnished. You want to make sure that you have that ready to go and also a nice soft-bristled cleaning brush.
I’m using an old toothbrush. The children’s toothbrushes are great because they’re usually very soft bristles. If you use an old toothbrush, just make sure that it’s really clean.
Baking Soda Cleaning Steps
To get started, it’s really very simple. Just take the aluminum foil and lay out your silver chains on it. The chain necklace to be cleaned are in varying stages of tarnish. One or two pieces are just pretty bright and slightly tarnished so that one will probably polish up pretty quick. The other two are a little bit more tarnished. They have some gold a few hints of black in it
What I love about the baking soda is because of the reaction. The chemical reaction caused really gets in there well. It will clean those things that are very hard to do with a polishing cloth. Now, we have our baking dish lined with aluminum foil and we have our jewelry laid out. We are going to take our baking soda to pour on top of the jewelry and sprinkle it right on top. You have to get really good coverage, so it’s probably about a tablespoon and a half worth.
All of my pieces of jewelry are very well covered with baking soda. You barely even see them. Then, I’m just going to pour the hot water right on the top. I put just enough water in to cover the jewelry. With the baking soda in the water, everything should be fully covered. What’s great here is if you can see inside this dish or when you do it yourself, you’ll see this like a little science experiment. All of the baking soda is starting to fizz up and cause all these little bubbles. What it is doing is that’s getting into all of those little looks and cream inside your chains and really polishing them well. The hotter water and the more baking soda you use, the quicker the reaction will take place.
Some of them are pretty tarnished and that’s where the brush comes in to use. Just using the brush to get the chemical into small and deep holes to make reaction there. You can add some more baking soda if necessary. Just sprinkle that on top. You can do the same if you need to add more water. It takes about a minute for those pieces that aren’t very tarnished. They’ll get clean right away.
Final Steps
Once you have done with this piece, you can see everything turning really nice and shiny and bright. There are only a couple steps now. The first thing is you’re gonna take these over to the sink and rinse them really well. You do want to make sure that you get rid of all of the baking soda off the jewelry pieces, especially the ones that are textured in the baking. Once you have that fully rinsed, you take it and put them on just a natural paper towel or something that’s undyed and unbleached regular natural paper towel. Once the pieces are both rinsed and dry, I’ll then just take a cloth, a Polish cloth or an old t-shirt something that’s really soft not gritty at all, like my soft cotton. I’ll just wipe the jewelry piece down once again. That makes it nice and shiny and bright. The other benefit of using a Polish cloth to do that piece is that most polish cloths have a built-in tarnish system where it will try to prevent tarnish on your jewelry. Therefore, it just gives you a little bit of added protection to keep your pieces breaker for longer.

